


Table of Contents:
- Understanding the Importance of Seat belt Safety
- Identifying Common Seat belt Buckle Issues
- DIY Solutions for Repairing a Damaged Seat belt Buckle
- Step 1: Assess the Damage
- Step 2: Gather Necessary Tools and Materials
- Step 3: Disassembling the Seat belt Buckle
- Step 4: Addressing Specific Issues
- Step 5: Reassembling the Seat belt Buckle
- Troubleshooting Tips for a Faulty Seat belt Buckle
- Final Thoughts on DIY Seat belt Buckle Fixes
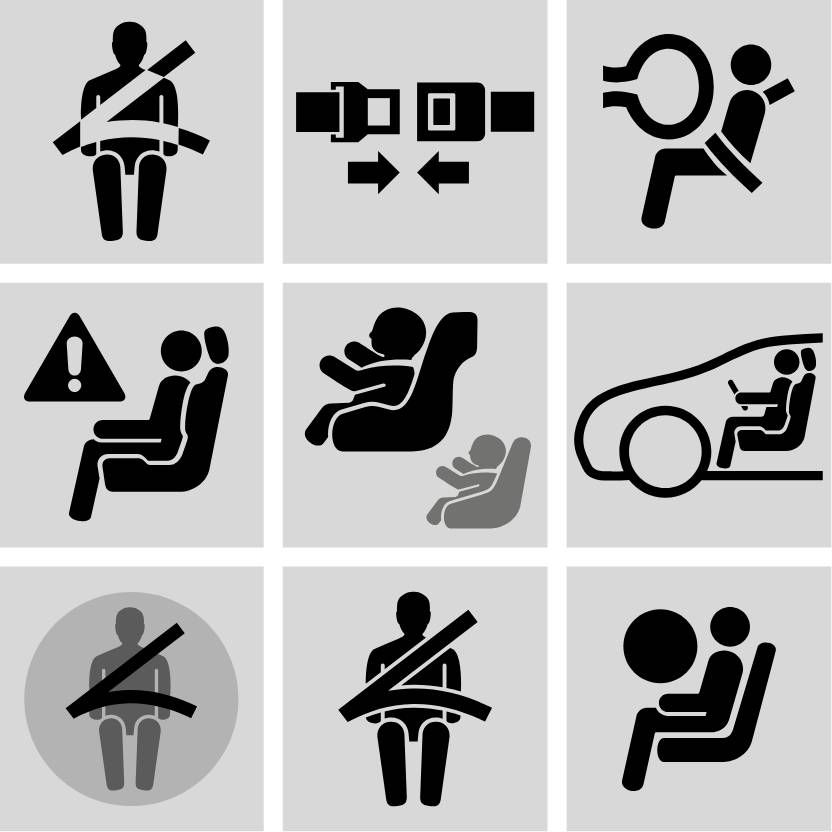
In our fast-paced lives, ensuring the safety of ourselves and our loved ones while on the road is paramount. One critical component of vehicle safety that often goes unnoticed until it fails is the seat belt buckle. A malfunctioning seat belt buckle can jeopardize the safety of passengers and drivers alike. In this comprehensive guide, we’ll walk you through the process of repairing a damaged seat belt buckle with easy-to-follow DIY solutions. Whether you’re experiencing a broken seatbelt clasp or a faulty fastener, we’ve got you covered.
Understanding the Importance of Seat belt Safety
Before delving into the intricacies of repairing a broken seatbelt buckle, it’s essential to grasp why seatbelt safety is non-negotiable. Seat belts are the primary restraint system in vehicles and are designed to prevent occupants from being ejected during a collision. They also help distribute the force of impact across stronger parts of the body, reducing the risk of severe injury or death.
Identifying Common Seat belt Buckle Issues
A malfunctioning seatbelt buckle can manifest in various ways, including:
- Difficulty in inserting or releasing the seatbelt
- A loose or wobbly buckle
- A buckle that won’t latch securely
- Damage to the buckle’s release button or mechanism
These issues can stem from wear and tear, accidental damage, or internal mechanical failures.
DIY Solutions for Repairing a Damaged Seat belt Buckle
Repairing a broken seat belt buckle doesn’t have to be daunting. With the right approach and some basic tools, you can tackle the task effectively. Here’s a step-by-step guide to help you get started:
Step 1: Assess the Damage
Begin by examining the seat belt buckle to determine the extent of the damage. Is the issue related to the buckle’s external or internal mechanism? Understanding the problem will guide your repair efforts.
Step 2: Gather Necessary Tools and Materials
For most DIY seat belt buckle fixes, you’ll need:
- Screwdrivers (Phillips and flathead)
- Needle-nose pliers
- Replacement parts (if required)
- Lubricant (silicone spray or graphite powder)
Ensure you have these items on hand before proceeding with the repair.
Step 3: Disassembling the Seat belt Buckle
Carefully disassemble the seatbelt buckle, following manufacturer guidelines if available. Use screwdrivers and pliers to remove any screws or clips securing the buckle’s casing.
Step 4: Addressing Specific Issues
Depending on the nature of the problem, you may need to:
- Clean dirt or debris from the buckle’s interior.
- Tighten loose components or screws.
- Replace damaged parts such as springs or the release button.
Refer to online tutorials or repair manuals for detailed instructions on addressing specific issues.
Step 5: Reassembling the Seat belt Buckle
Once you’ve addressed the underlying problem, reassemble the seatbelt buckle in the reverse order of disassembly. Ensure all components are securely fastened and functioning correctly before testing the buckle.
Troubleshooting Tips for a Faulty Seat belt Buckle
If you encounter challenges during the repair process, consider the following troubleshooting tips:
- Double-check your disassembly and reassembly steps for any missed or misaligned components.
- Refer to online forums or seek advice from automotive experts for additional guidance.
- If you’re unable to resolve the issue yourself, consider seeking professional assistance or replacing the buckle altogether.
Final Thoughts on DIY Seat belt Buckle Fixes
Repairing a broken seat belt buckle is a proactive step towards ensuring your safety on the road. By following the DIY solutions outlined in this guide and staying vigilant for signs of buckle wear and tear, you can address issues promptly and maintain optimal seatbelt functionality.
For those in need of replacement parts or professional assistance with seat belt repairs, visit Blue Star Brothers for premium quality products and reliable service. Don’t compromise on safety – prioritize the maintenance of your vehicle’s seat belt system for peace of mind on every journey.
With these insights and practical tips at your disposal, you’re well-equipped to tackle seat belt buckle repairs like a seasoned pro. Stay safe, stay informed, and happy repairing!
